Support / Documentation / Security
Contents
User Accounts
You can configure some users so they do not need any password to login, for example guests or children.
In such case, ensure those accounts do not have the Administrator Role selected (see below).
To view all existing accounts, go to the "Server Settings" page and click on the "Users" button:
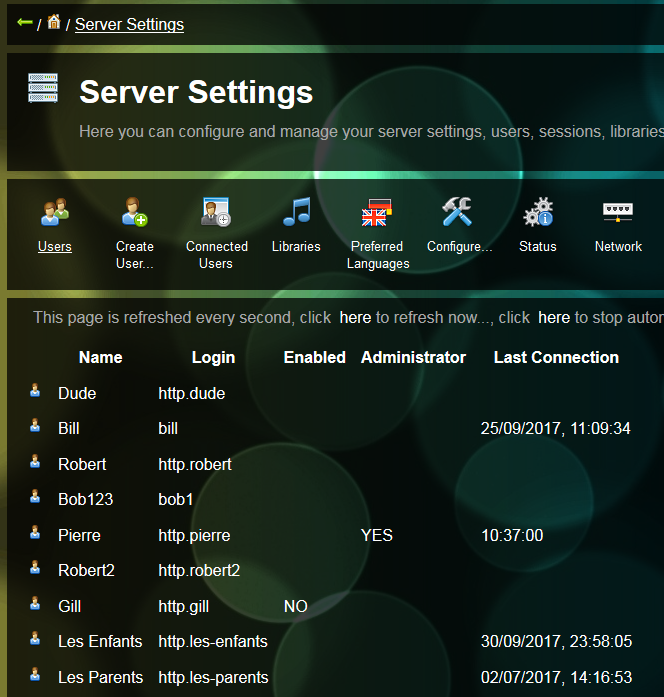
You can click on one user's Name to go to his/her page and configure the account and "Parental Controls".
Administrator Role
- Manage the server,
- Import or move medias,
- Change anything on any user.
- Disconnect users.
- Can read and view medias.
- Can create and update their own playlists.
- Cannot modify "Parental Controls" on their accounts.
Log Files
- <connection-id> is the connection number. It increases as clients open new connections.
- <client-address> is the IP address of the client.
- <method> is the HTTP method, like GET, POST, HEAD, etc...
- <response-code> is the HTTP response code sent back to the client (200: OK, 404: Not Found, 403: Forbidden, etc...).
2017-10-02 22:42:21.997 52 0:0:0:0:0:0:0:1 GET /rose/822f10c3-d764-4a7d-a34a-0e0db3fee31b/resources//artwork/pictures.medias/2/2254.jpg 404
2017-10-02 22:42:24.789 49 0:0:0:0:0:0:0:1 Connection closed by peer
2017-10-02 22:42:29.391 52 0:0:0:0:0:0:0:1 GET /rose/822f10c3-d764-4a7d-a34a-0e0db3fee31b/movies.movies/1407 200
2017-10-02 22:42:29.422 38 0:0:0:0:0:0:0:1 Connection closed by peer
2017-10-02 22:42:29.438 54 0:0:0:0:0:0:0:1 GET /rose/822f10c3-d764-4a7d-a34a-0e0db3fee31b/resources//poster/movies.movies/1/1407.jpg?v=48d10f21-654a-42d7-9ea6-fcf1ff9f8101 200
2017-10-02 22:42:29.438 52 0:0:0:0:0:0:0:1 GET /resources/html/js/hls.min.js 200
2017-10-02 22:42:29.547 51 0:0:0:0:0:0:0:1 GET /favicon.png 200
HTTPS/SSL
On the SSL port, the server creates its own private and public key every time it starts and self-signs its public certificate.
To install your own private and public key pair, proceed as following:
- Connect as a user with the Administrator Role.
- Go to the "Server Settings" page and click on the "Configure..." button.
- In the "SSL Keystore" section, select the file which contains your key pair.
- Select the File Type/Format if required.
- Type the File/Keystore password and Key/Alias password if required.
- Restart the server.
Disable Administrative Actions
To do so, go to "Server Settings" and click on the "Configure..." button.
In the dialog box, select the "Security" tab and select the "Limit administration actions to localhost/loopback only":

The server does not need to be restarted.